How to Try on New Ski Boots - 2027 Edition
It can be easily argued that ski boots are the most important piece of the whole ski gear galaxy. Even though most of our time and energy here at SkiEssentials is focused on the skis, we still emphasize the imperative need for a properly fitted and flex-matched boot for your individual skills, size, and foot shape. For many skiers, trying and putting on boots is not incredibly intuitive. This article and video are aimed at giving skiers a set of instructions as well as some helpful tips for the fitting and trying-on process.
In terms of fit, when you initially put your boots on, they should feel very snug, almost to the point of being tight. In the boot world, tight is good. Ski boots are unlike any other piece of athletic footwear out there. They are meant to transmit energy to your skis directly and efficiently. To do that, they must fit close to your foot, so you don't lose energy in the process.
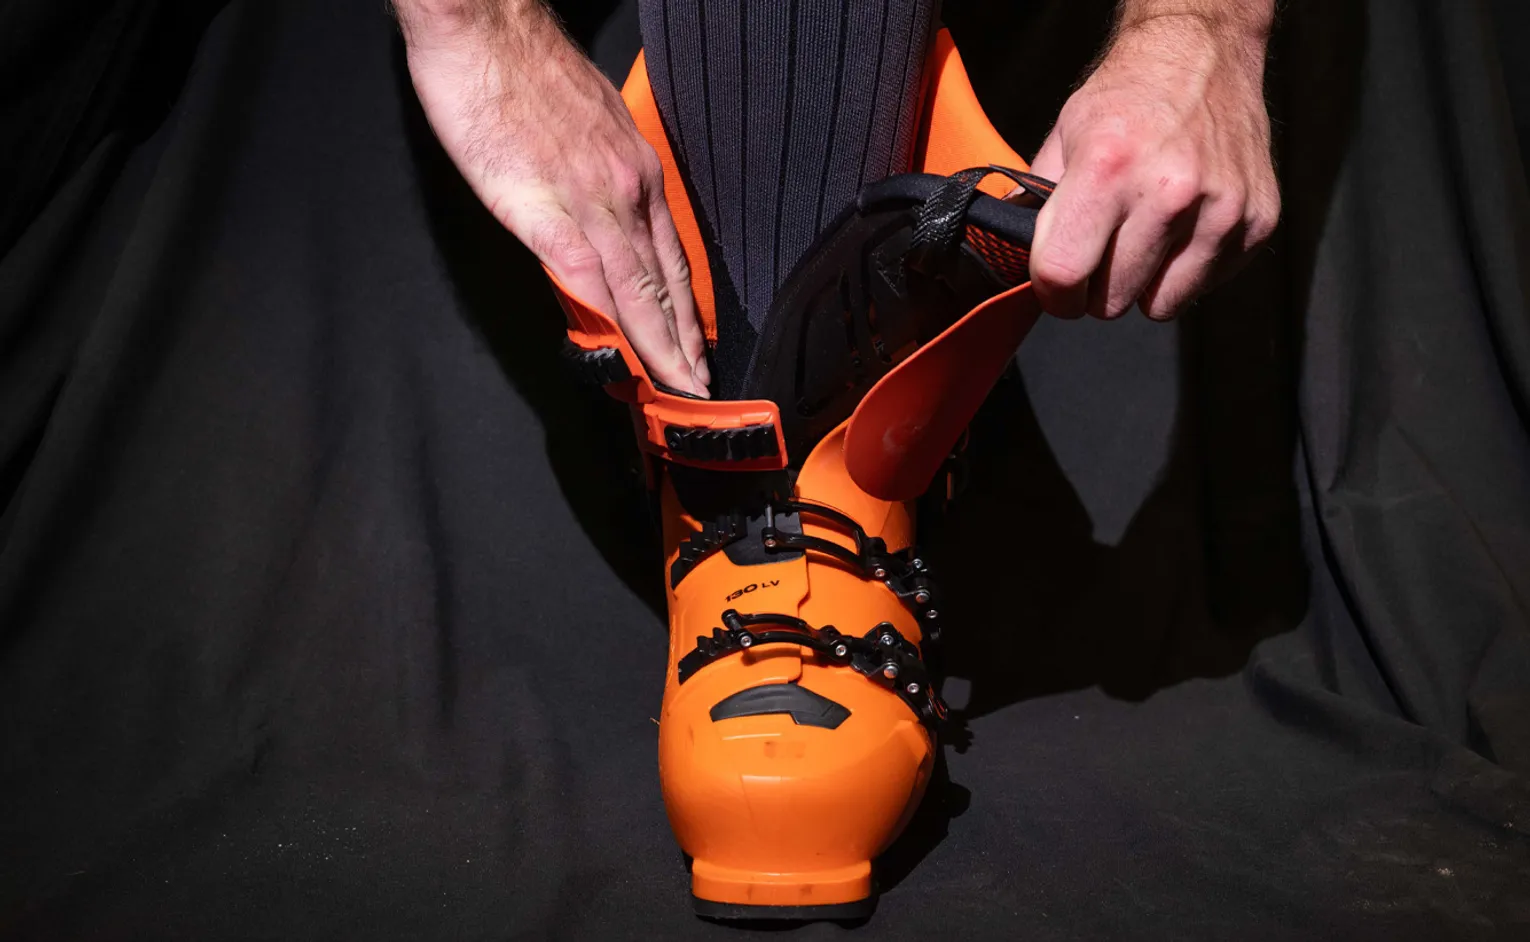
When you are putting them on, make sure that you first have one thin ski-specific sock on your feet. There should be nothing else in the boot if possible. If you have tight and thin leggings or base layers, that's fine, but make sure there are no rolls or folds at all—even the slightest bunching of material can restrict circulation and create both discomfort and cold. Push the tongue of the boot as far forward as possible, and if you can, separate the lower portions of the shell with your hands. This will allow your foot to slide in easier. Once your foot is in, make sure you buckle the boot in the proper sequence in order to properly seat your heel in the heel pocket. If the boot feels too tight before you do this, don't panic—it takes a second for your foot to settle in.
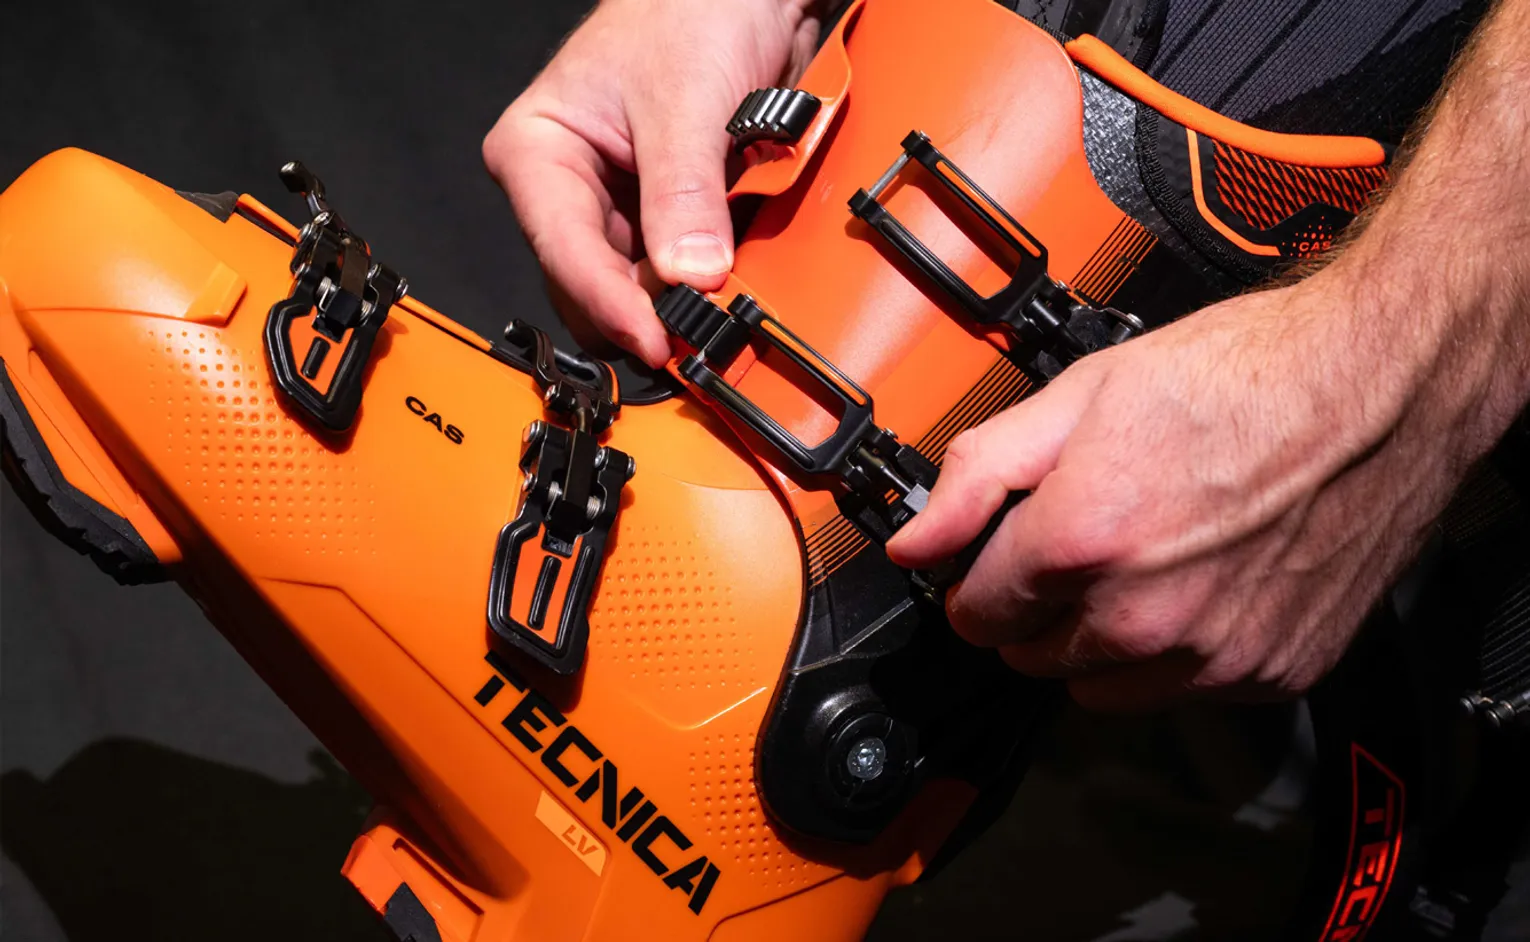
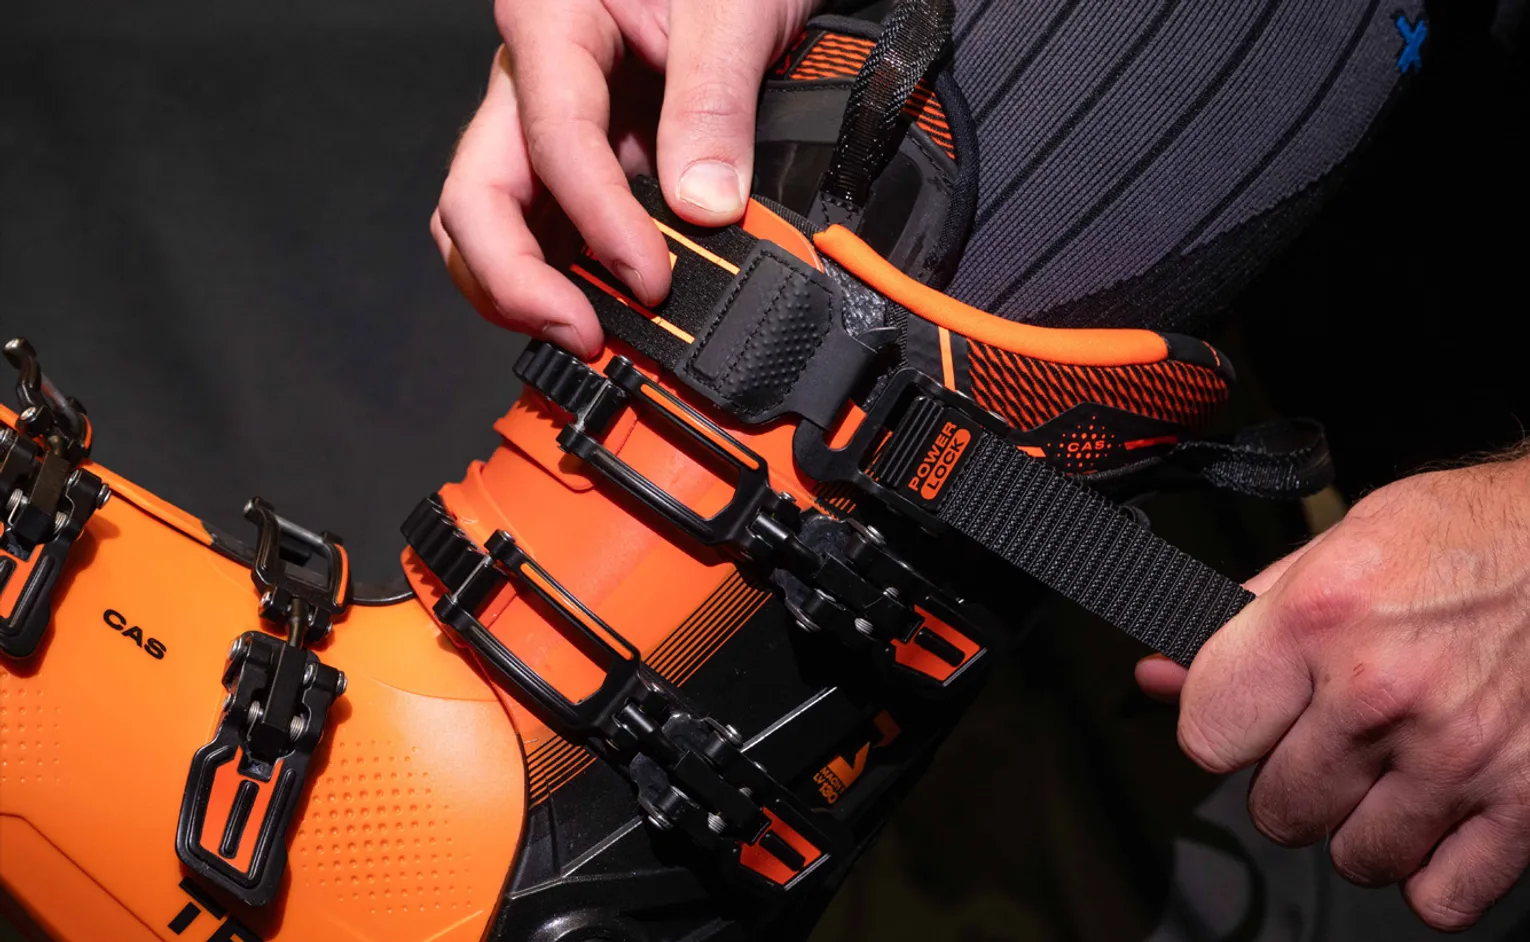
Buckle the top two buckles first. If you have a lower BOA closure system, you can snug it up a bit just to take the slack out but do the top two buckles first before cinching the BOA totally. If you have a Dual BOA, cinch them both up to take out the slack, and then tighten the upper dial so it's snug. Once the upper is latched, either by buckle or dial, do the power strap next. It doesn't have to be super tight. Now flex forward into the front of the boot while keeping your heel on the ground. Pretend that there's a grape between your shin and the front of the boot and just squish that grape. Do this about 10-12 times. You will feel your toes pulling away from the front of the boot as you flex—this is your heel finding the back of the boot.
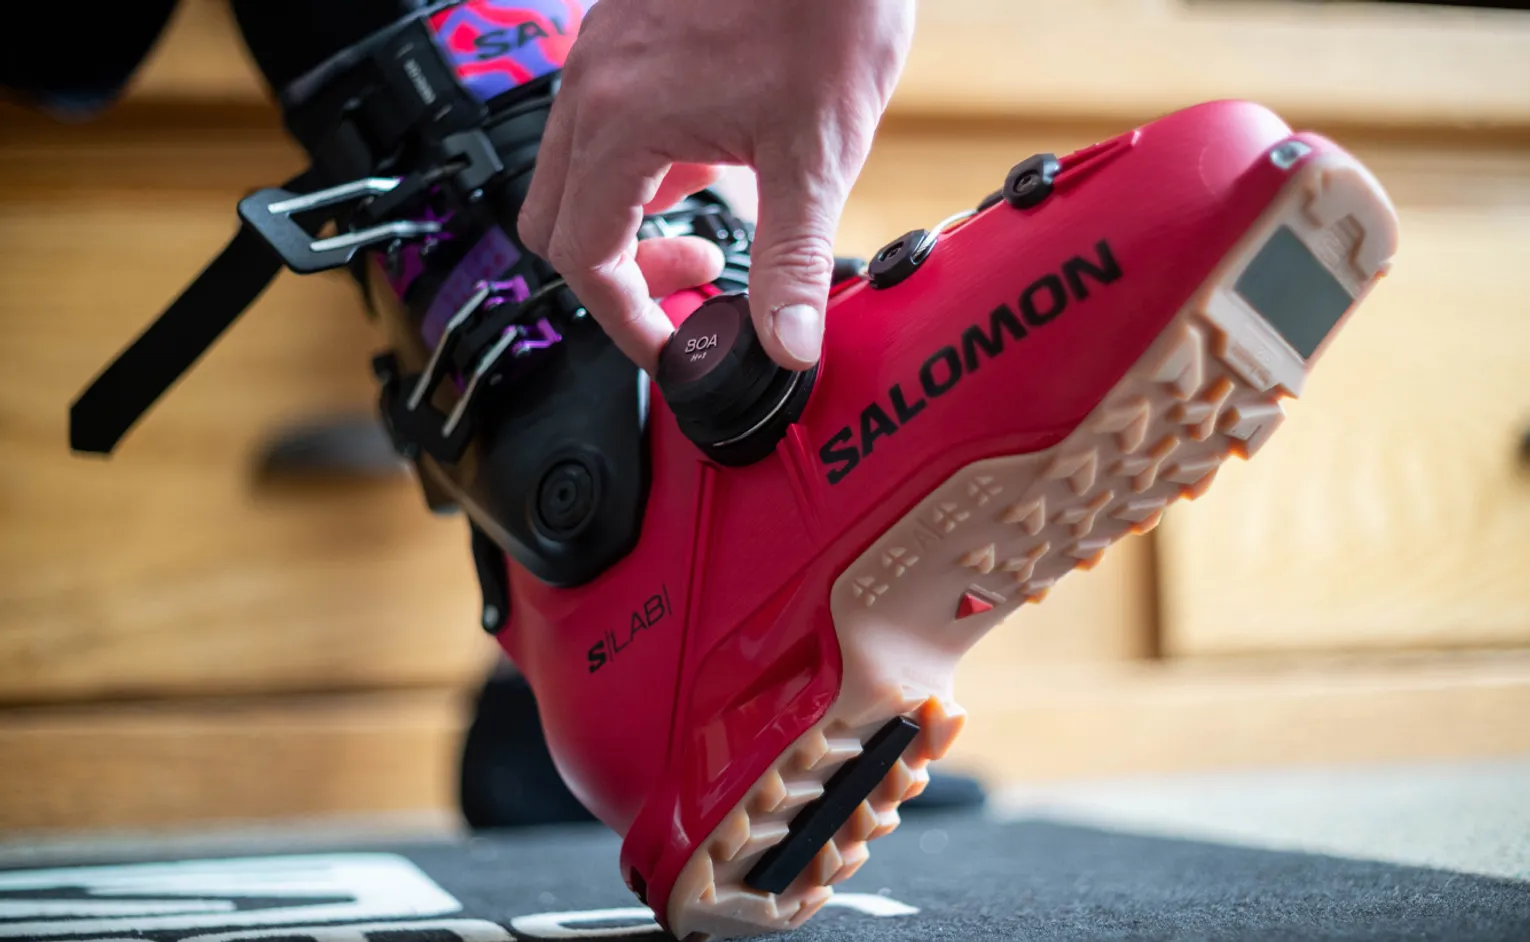
Once you've done this, you can then tighten the lower buckles or dial until you feel it snug. Don't overtighten the lower portion of the boot as this can cut off circulation. The upper buckles or dial should be doing the bulk of the work when it comes to heel and ankle retention—this is far more important than your forefoot being tight. You can tighten the upper as much as you want, including the strap, but keep in mind that the tighter the top buckle and the strap become, the stiffer the flex. To take them off, simply reverse the process.
The boots should feel like a firm handshake with consistent and even pressure throughout. There hopefully aren't any specific pressure points if the boot fits properly, but everyone's foot is different, and some customization may be required. Keep in mind that if the boots feel very tight at this point, this is as small as the boot is ever going to be. After a few days of skiing, the foam in the liner begins to pack in and customize to your foot and ankle shape. This will give you more room overall and provides better long-term fit. Again, having your foot close to the shell is imperative for energy transfer. The more room or slack your foot has between it and the plastic, the slower that transmission will be, causing poor performance. As with most things, it's a blend of performance and comfort, and each skier needs to determine where they sit on that scale. In general, the higher performance a boot is, the lower the comfort. Finding a solid compromise makes for happy skiers.
If you continue to have issues with fit or performance, here are some troubleshooting tips for the next steps:
- Get a better footbed. The one that comes in the boots is not very supportive. Custom footbeds built at boot shops are the best option, but there are many over the counter products that work great as a simple replacement.
- Heat-mold your liner. This should be done at a boot shop. Most modern liners have a thermo-moldable foam that will conform to your foot when heat is applied. Shops have specific heaters that will yield the best results. Your own body heat and days on snow will accomplish the same thing, but this speeds up the process.
- Stretch or grind the plastic of the boot. Again, boot shop. Most modern plastics are also thermo-moldable and can be heated and stretched to accommodate certain and specific fit issues. Bunions, heel spurs, and accessory naviculars are the most common areas that need attention. Getting a bigger boot will generally NOT solve these issues.